Why a Fresh VPS Is Vulnerable Out of the Box
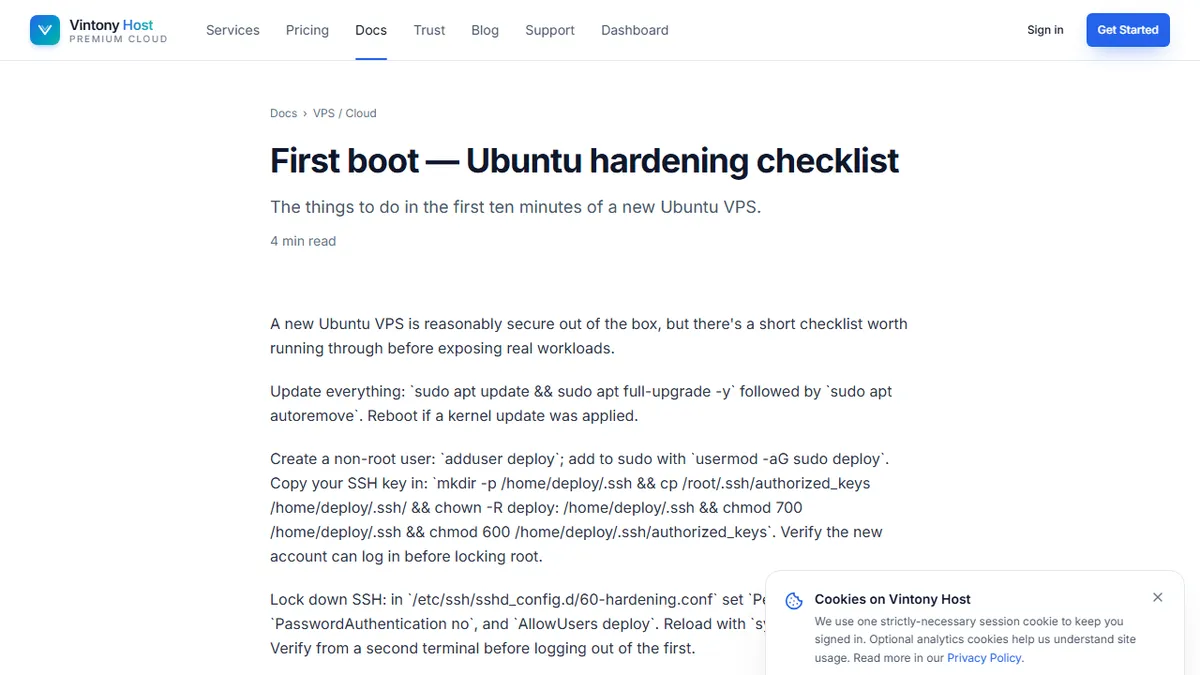
A new VPS arrives with a clean operating system image and, in most cases, a single root account accessible via SSH password authentication. That configuration is designed for convenience: you need to get in quickly, and the provider does not know what username conventions you prefer or which ports you want to use. The price of that convenience is an attack surface that automated scanners find within minutes of the IP address going live.
Botnet crawlers do not wait. They probe the IPv4 space continuously, and a new IP attached to port 22 with password authentication enabled will receive thousands of login attempts within the first 24 hours. Most of those attempts will fail against a strong root password, but the combination of root login enabled, password authentication active, and no rate limiting is precisely the configuration that produces successful brute-force intrusions.
Running these steps sequentially on first boot takes under 30 minutes and closes the vectors that account for the vast majority of VPS compromises.
Step 1: Create a Non-Root User and Disable Root SSH Login
The root account has unrestricted access to every file, process, and configuration on the server. An attacker who gains root access has everything. Creating a non-privileged user and adding it to the sudo group means that even if a session is compromised, the attacker cannot run arbitrary commands without the sudo password.
Create a new user with adduser yourusername, then add them to the sudo group with usermod -aG sudo yourusername. Open a new terminal and confirm that you can log in as the new user and that sudo whoami returns root before proceeding. Only then modify the SSH configuration.
In /etc/ssh/sshd_config, set PermitRootLogin no. Reload the SSH daemon to apply the change. Confirm that the root login is rejected before closing your original session.
Step 2: Key-Based Authentication and Removing Password Login
SSH key pairs eliminate the brute-force surface entirely. A 4096-bit RSA key or an Ed25519 key cannot be guessed by any dictionary or brute-force approach within a useful time frame. Generate a key pair on your local machine if you do not have one, then copy the public key to the server with ssh-copy-id yourusername@serverip.
Verify that you can connect to the server using the key (without entering a password) before making the next change. Then in /etc/ssh/sshd_config, set PasswordAuthentication no and ChallengeResponseAuthentication no. Reload sshd.
Changing the default SSH port from 22 to a high non-standard port (anything in the 49152 to 65535 range is appropriate) is not a security control in itself, but it does eliminate the background noise of automated scans from logs, making genuine anomalies easier to spot.
Step 3: Configure UFW or nftables with a Minimal Ruleset
A firewall should allow the minimum necessary traffic and deny everything else. On Ubuntu and Debian systems, UFW provides a readable interface for setting rules without needing to understand nftables or iptables syntax directly.
The minimal starting ruleset: allow SSH on your chosen port, allow HTTP on port 80, allow HTTPS on port 443, and deny everything else by default. Enable UFW with ufw enable after setting these rules, and confirm that ufw status verbose shows the expected configuration.
If the server will run additional services (a database, a mail server, a monitoring agent), add rules for those ports using ufw allow from <source_ip> to any port <port> rather than opening those ports globally. A database that accepts connections from any IP is a significantly larger risk than one restricted to the application server's IP.
Step 4: Enable Automatic Security Updates
Unpatched packages are the second most common path to server compromise after weak authentication. Operating systems publish security updates continuously, and a server running month-old packages has a known vulnerability surface that is publicly catalogued in CVE databases.
On Ubuntu and Debian, unattended-upgrades handles automatic security patches without requiring scheduled manual runs. Install it with apt install unattended-upgrades and enable it with dpkg-reconfigure --priority=low unattended-upgrades. The default configuration applies security updates and restarts services where needed; you can configure notification emails to know when updates have been applied.
Automatic updates apply security patches but not major version upgrades, which is the correct behaviour — major upgrades require testing before deployment to production.
Step 5: Install fail2ban and Configure Rate Limits
Even with key-based authentication, repeated failed connection attempts consume log space and add noise to audit trails. fail2ban monitors log files for repeated authentication failures and automatically adds firewall rules to block the offending IP for a configurable period.
Install fail2ban with apt install fail2ban, then create a local configuration file at /etc/fail2ban/jail.local. A minimal configuration blocks IPs after 5 failed SSH attempts within 10 minutes for 1 hour. The defaults are reasonable, but matching the ban time to the persistence of automated scanners — which will retry the same IP from different addresses — often means extending the default 10-minute ban to 24 hours for repeat offenders.
The official VPS first-boot configuration reference includes recommended fail2ban configurations for SSH and common web application scenarios, which is a useful starting point before customising for specific services.
Step 6: Review Open Ports with ss and Close Anything Unused
After configuring the firewall, run ss -tlnp to list all listening TCP ports and the processes bound to them. A fresh server often has services listening that were installed as dependencies of something else — a mail transfer agent on port 25, an SNMP daemon on port 161, or a web server that was installed as part of the OS image.
Each open port is an attack surface. Services that are not required by your intended workload should be stopped and disabled. systemctl stop servicename && systemctl disable servicename removes a service from startup and stops it immediately. Cross-reference the open port list against your firewall rules; if a port is not in your allow list but is showing as open, understand why before closing it.
Ongoing Hygiene: Patching Cadence and Audit Log Review
First-boot hardening is a baseline, not a one-time event. Scheduled reviews prevent the security configuration from drifting as the server evolves. Monthly reviews of the open port list, the active user accounts, and the sudo configuration take under 15 minutes and catch configuration changes that crept in during normal operations.
Authentication logs at /var/log/auth.log (or journalctl on systemd-native systems) record every login attempt, successful or otherwise. Reviewing them weekly while the server is new builds intuition for normal access patterns, making abnormal sessions recognisable when they occur. A login from an unexpected geography at an unusual hour, even with valid credentials, is worth investigating before assuming it was you.
Enable and review audit daemon logs if the server handles sensitive workloads. The Linux Audit daemon records file access, privilege escalation events, and system call patterns that can make post-incident analysis tractable.