Why Every WordPress Site Needs a Security Audit
WordPress powers well over 40 percent of the web. That market share makes it the most targeted platform on the internet, not because WordPress itself is insecure, but because the sheer volume of sites creates a rich hunting ground for automated bots scanning for vulnerable plugins, weak credentials, and misconfigured servers.
Most site owners discover they have a problem after something goes wrong: a defaced homepage, spam links injected into their content, or a Google Safe Browsing warning that tanks their traffic overnight. A security audit catches the conditions that lead to those outcomes before they materialise. It turns a reactive posture into a proactive one, and the earlier in a site's life you run one, the smaller the remediation workload.
The good news is that a meaningful first audit no longer requires a security professional. Modern scanners automate the discovery work and surface findings in plain language.
Choosing a Scanning Approach: Local vs Cloud-Based
Before downloading anything, it is worth understanding the two broad categories of WordPress security scanner.
Cloud-based scanners send your site's URL to a remote service, which probes the site from the outside. They are convenient but have a fundamental limitation: they can only see what an external attacker would see. Anything behind authentication, anything in your server configuration files, and anything that only shows up in installed file paths is invisible to them.
Local scanners run on your own machine. They are pointed at a WordPress installation (either on your local development environment or a production server you have access to) and perform their checks without routing data through a third party. This approach gives considerably deeper coverage and keeps your scan data entirely under your control.
For a first audit where you genuinely want to understand your site's posture, a local scanner is the better starting point.
Installing the Scanner on Windows, macOS, or Linux
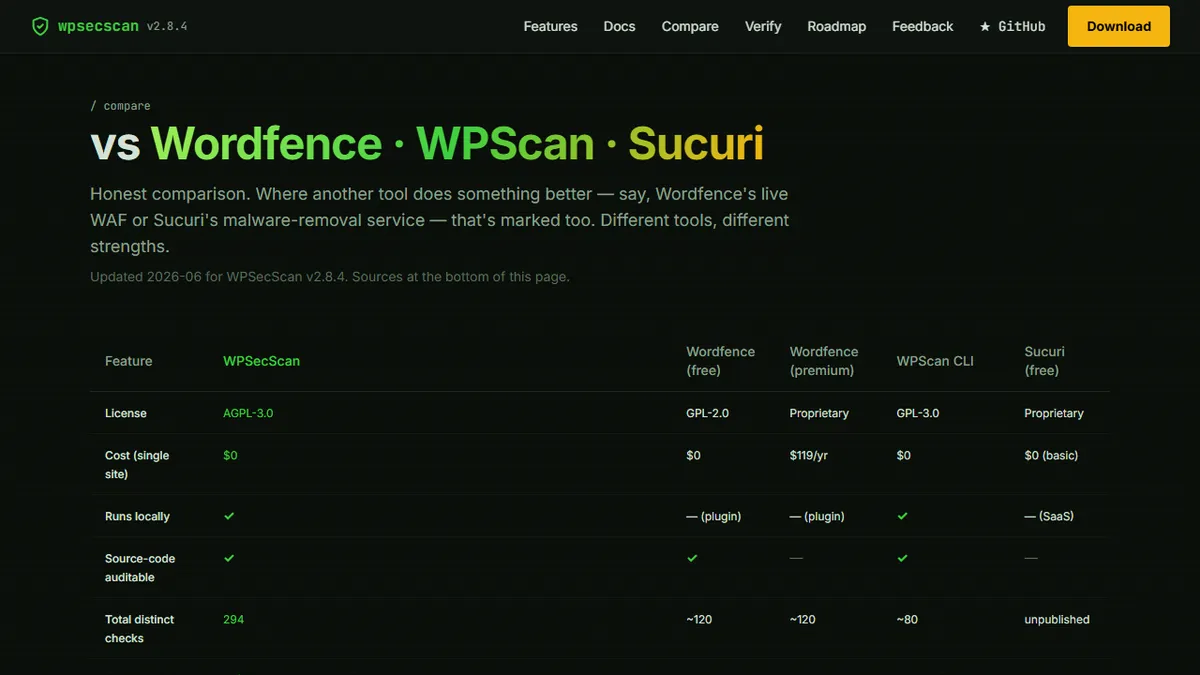
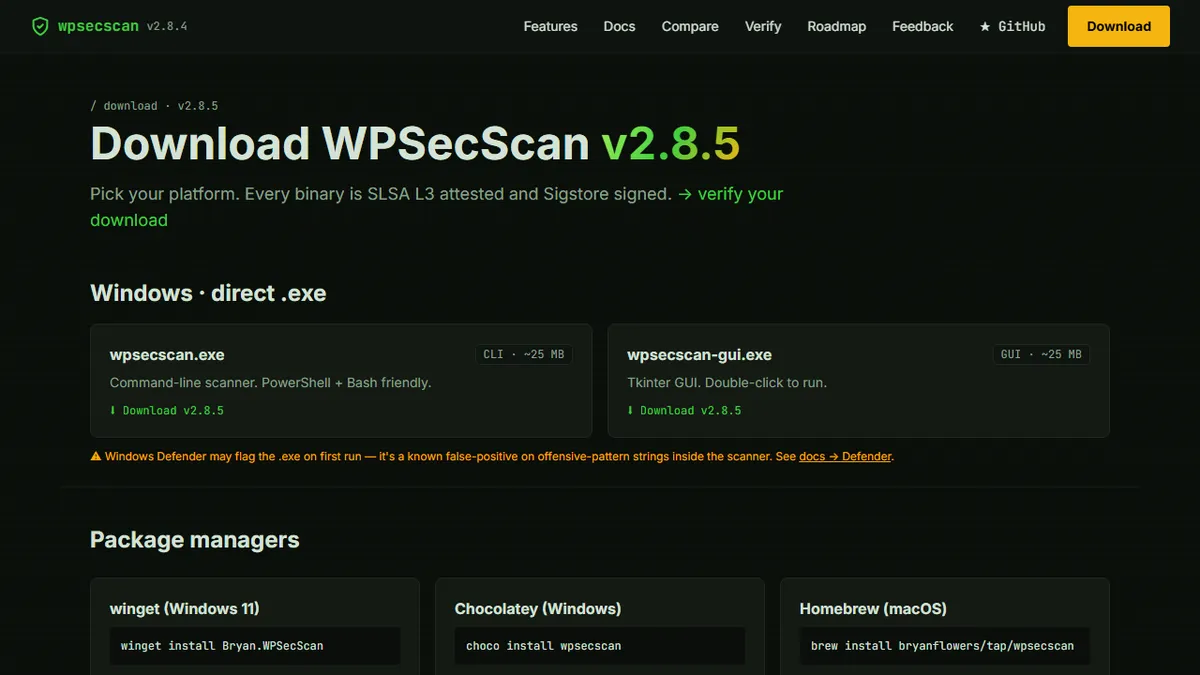
WPSecScan is a free, open-source local scanner that runs on all three major platforms. To grab the free download and follow the install steps, visit the download page where you will find platform-specific instructions.
On Windows, installation is handled through winget with a single command. On macOS, a Homebrew tap makes the process equally straightforward. For Linux and cross-platform setups, a pip install works across distributions, and a Docker image is available if you prefer a containerised workflow with no system-level dependencies.
After installation, run the version command to confirm everything is working. The scanner ships with a built-in self-test that validates its check modules before you point it at a real site.
Running Your First Scan and Understanding the Output
With the scanner installed, the simplest starting point is a passive scan against your site's URL. A passive scan observes and interrogates without sending any payloads that could interfere with normal operation, meaning it is safe to run against a live production site.
The command takes a URL and an output format. For a first run, the HTML report format is the most readable: it groups findings by category, includes severity badges, and links each finding to its relevant CVE record or compliance mapping where applicable.
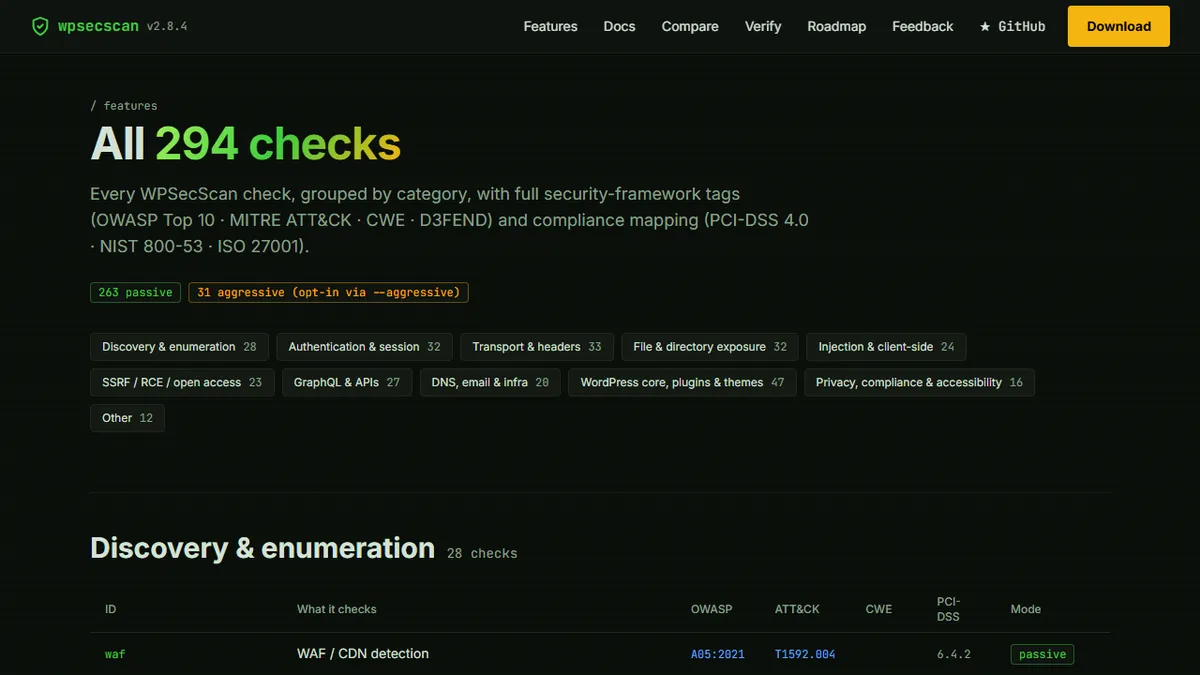
The scan will work through eleven check categories in sequence: core and plugin version checks, authentication surface, TLS and transport configuration, file exposure, DNS and email security, and several more. Depending on your site's complexity and hosting speed, a full passive scan typically completes in five to fifteen minutes.
When the report opens, do not try to read it linearly. Start with the summary dashboard at the top, which gives you the count of findings at each severity level. This gives you an immediate sense of whether you are looking at a maintenance task or an urgent remediation.
What the Severity Levels Actually Mean
Most security scanners use four severity levels. Understanding what each actually signifies prevents both panic and complacency.
Critical findings are conditions where a known exploit path exists and the potential impact is severe: remote code execution, full authentication bypass, or access to production credentials. These require immediate attention regardless of how busy you are.
High findings are serious vulnerabilities without an immediately weaponised public exploit, or conditions that require additional access to exploit but carry significant damage potential if chained with other findings. Address these within days, not weeks.
Medium findings typically are hardening gaps: missing security headers, weak session configurations, or outdated software without a known critical CVE. These are important but allow a planned response.
Informational findings are observations that do not constitute vulnerabilities on their own but provide context for other findings or are minor best-practice deviations. Read them for completeness but do not let them obscure the higher-severity items.
Five Quick Wins to Act On After Your First Report
Most first-time scans surface at least a handful of findings that can be addressed in an afternoon without specialised knowledge.
Updating plugins and themes to their latest versions closes the most common CVE exposure. If a plugin has a finding and an update is available, the update is almost always the right first move.
Enabling HTTPS everywhere and adding an HSTS header through your server configuration or a caching plugin is a single change that eliminates a category of transport-layer findings.
Disabling XML-RPC if you are not actively using it removes a surface that automated credential-stuffing bots probe constantly.
Adding a login rate-limiting rule (either through a security plugin or your server) turns brute-force attempts from a threat into a nuisance.
Removing or blocking access to the WordPress readme.html file stops the scanner from detecting your exact core version on a first pass.
How Often Should You Scan?
A single audit tells you the state of your site at a point in time. It says nothing about what happens the week after you run it, when a plugin you use ships a critical CVE, or when a misconfiguration is introduced during routine maintenance.
For most sites, a monthly full scan is a reasonable baseline. High-traffic sites, e-commerce stores, and any site handling personal data benefit from weekly scans. Sites with active development should scan on every deployment or at least every time new plugins are added.
The most effective approach beyond periodic scans is continuous monitoring: automated daily checks that watch for DNS changes, newly published CVEs affecting your plugin versions, and certificate transparency anomalies. Even without that infrastructure, scheduling a calendar reminder for a monthly manual scan is vastly better than scanning once and considering the work done.